Introduction
This guide shows how to transfer screens between different accounts in PLAYipp. It's important to know that when you transfer a screen, only the screen itself is transferred – the content does not automatically follow.
What is transferred
When you transfer a screen between accounts, the following is transferred:
- The screen as a digital device
- The screen's basic settings
What is not transferred automatically
- Content (Images, videos, widgets, etc.)
- Licenses
Content must be transferred manually if you want it to be available on the new account.
Moving licenses
It is not possible to move licenses between accounts, and separate licenses need to be purchased for the new account
Steps to transfer a screen
Moving a screen between accounts happens in two main parts:
- Create a transfer code on the original account
- Import the screen to the new account using the transfer code
Part 1: Create transfer code (on the original account)
Note: The images in this guide show an older version of PLAYipp with the previous main menu. Read more about the new main menu in this article.
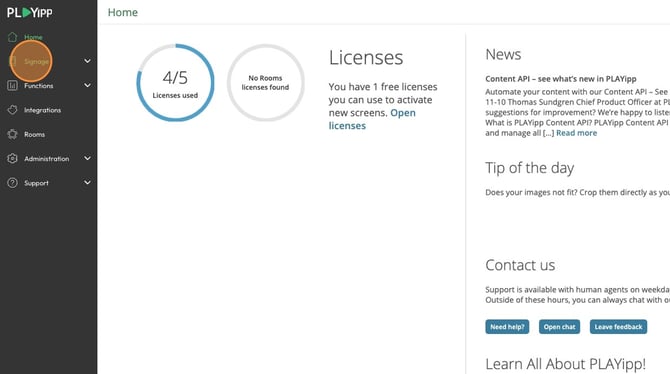
- Click Signage
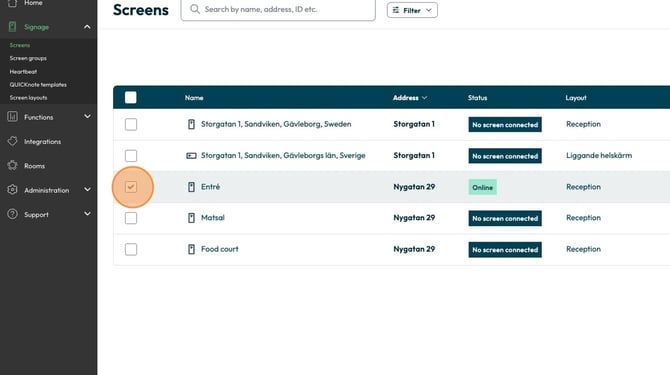
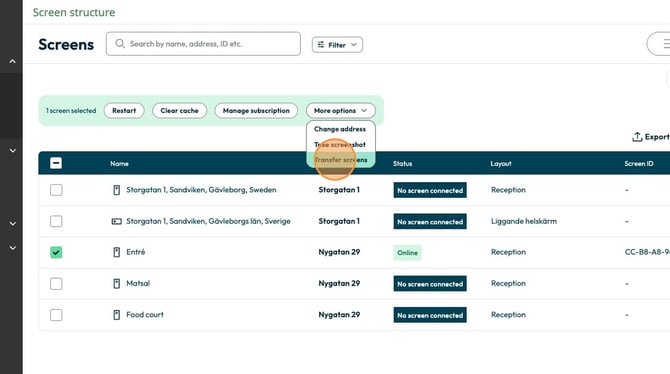
- Click the checkbox on the screen you want to transfer
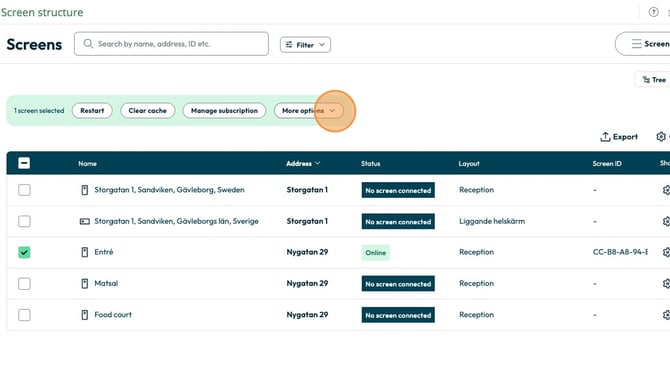
- Click More options
- Click Transfer screen
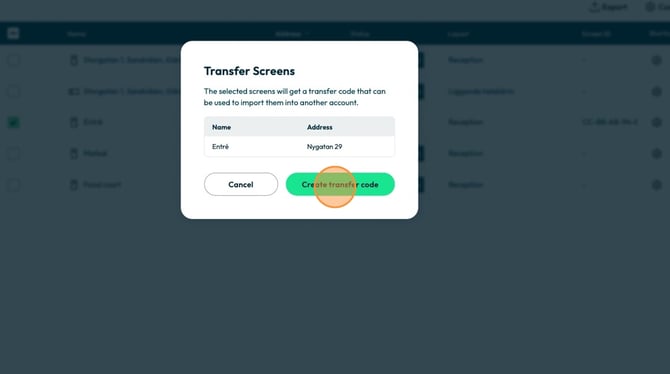
- Click Create transfer code
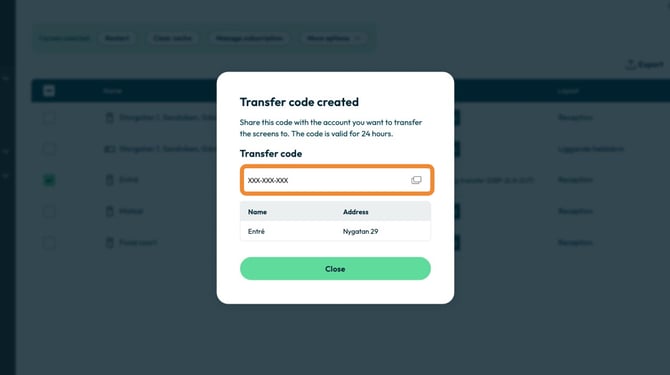
- Your transfer code will appear here. Copy it
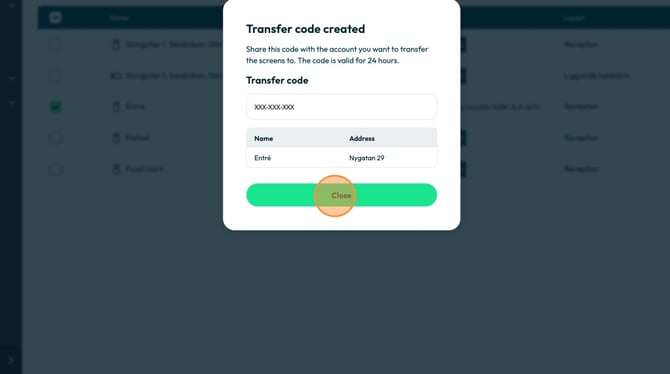
- Click Close
Part 2: Import screen (on the new account)
- Go to the account you want to transfer the screen to
- Click on signage
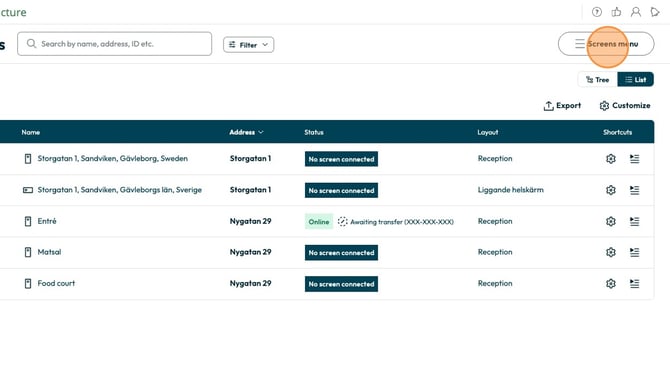
- Click on Screens menu
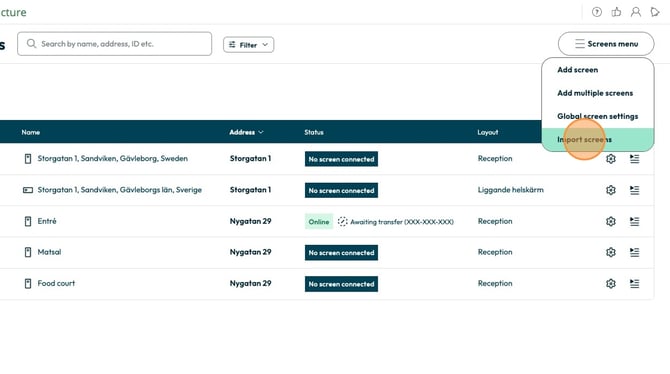
- Click on Import screens
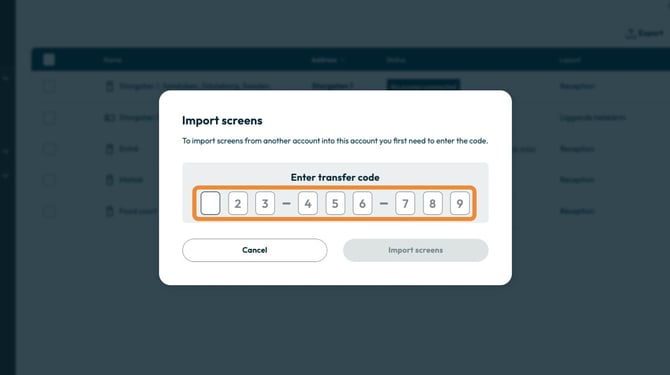
- Enter the transfer code here
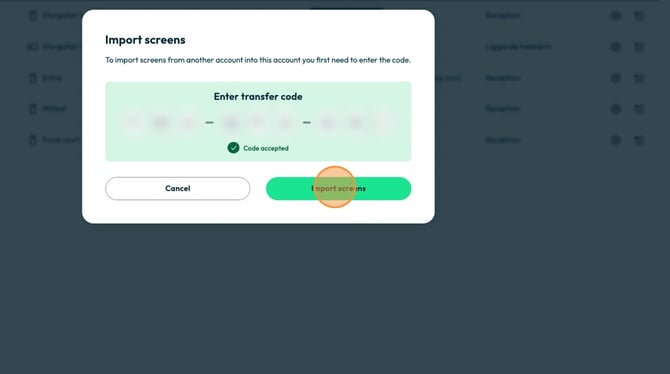
- Once the code is accepted click Import screens
- Fill in information about the name, adress, Section, Group, subscription and choose the layout for the imported screen
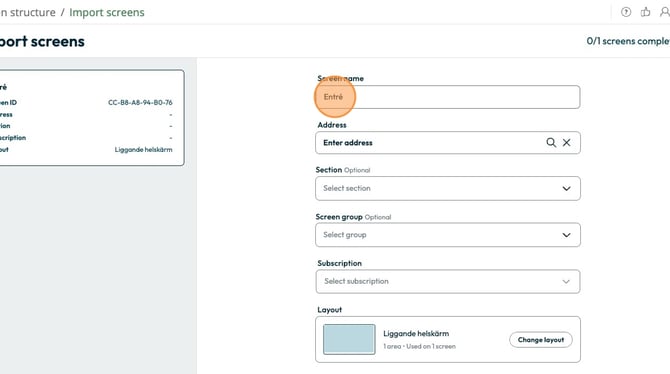
- Click Import screens
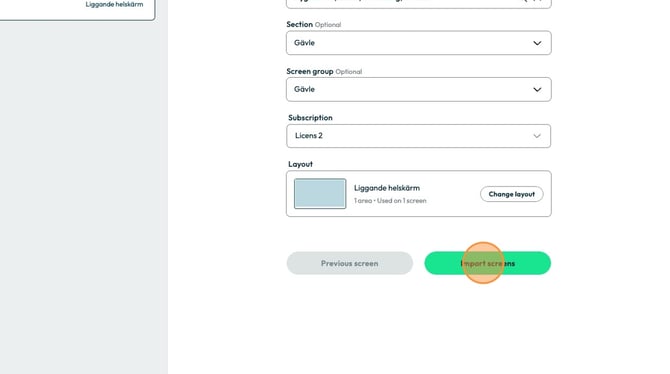
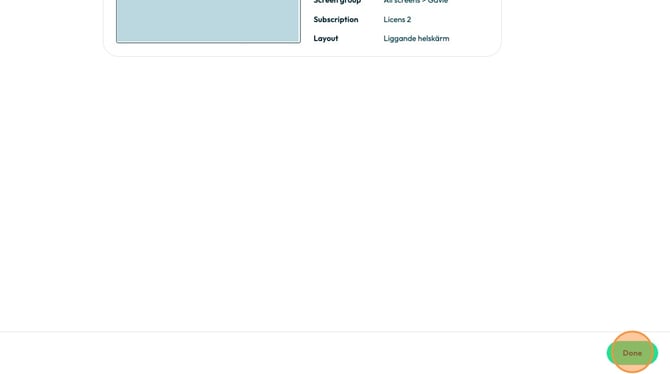
- You will get an overview of the imported screen.
Click done