
Before You Start
When you add a screen, you can optionally organize it using:
- Placement, a free text field for a more specific location, such as a floor or building (e.g. "floor 1, building A")
- Screen group, used if you want to publish content to multiple screens at the same time
- Tags, used to describe properties such as department, audience or room type
All three are optional but can make it easier to manage your screens later. If you want to add several screens at once instead of one at a time, use the "Add multiple screens" link in the top right corner of the dialog.
Getting Started
- Navigate to Screens
Go to "Screens" in the main menu where you will see your existing screens listed.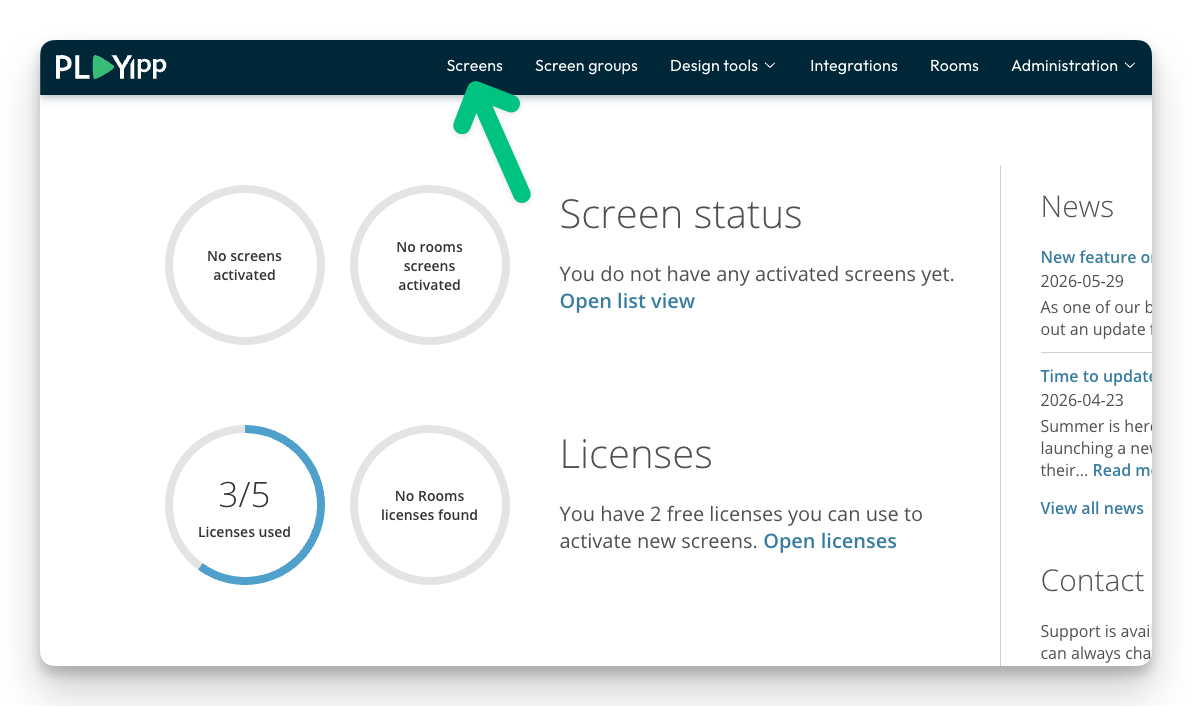
- Click Manage
Click Manage button in the upper right corner.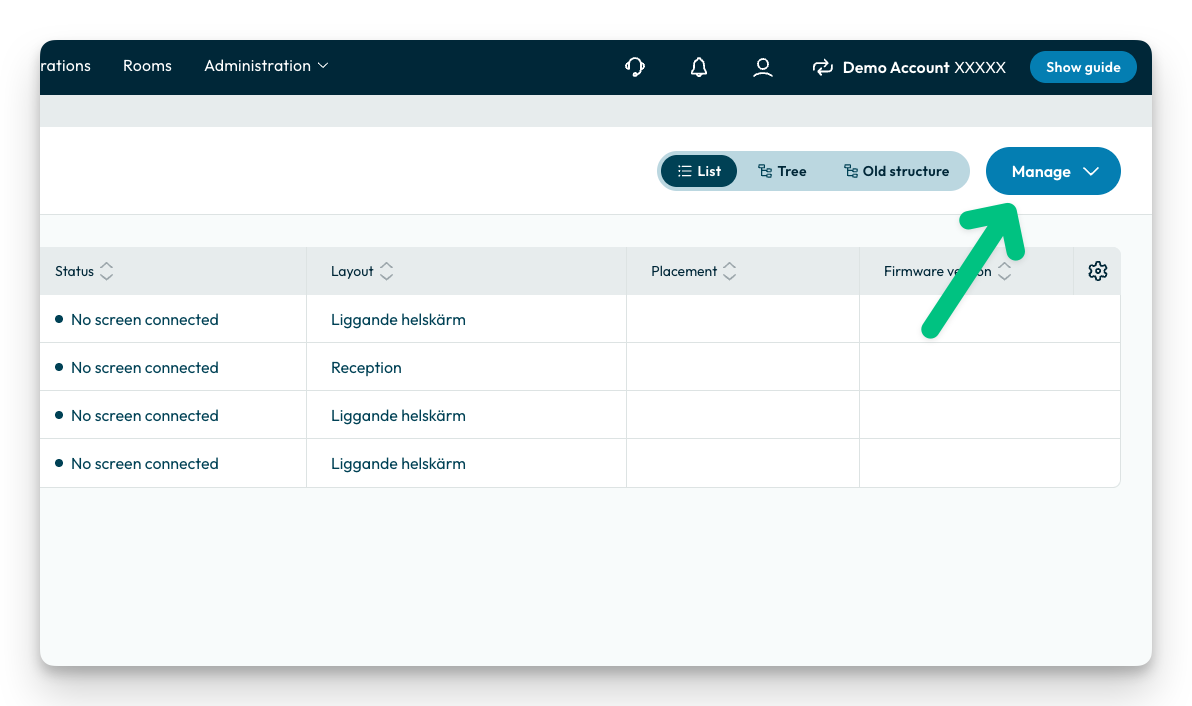
- Select "Add Screen"
In the dropdown menu that opens, select the option "Add Screen".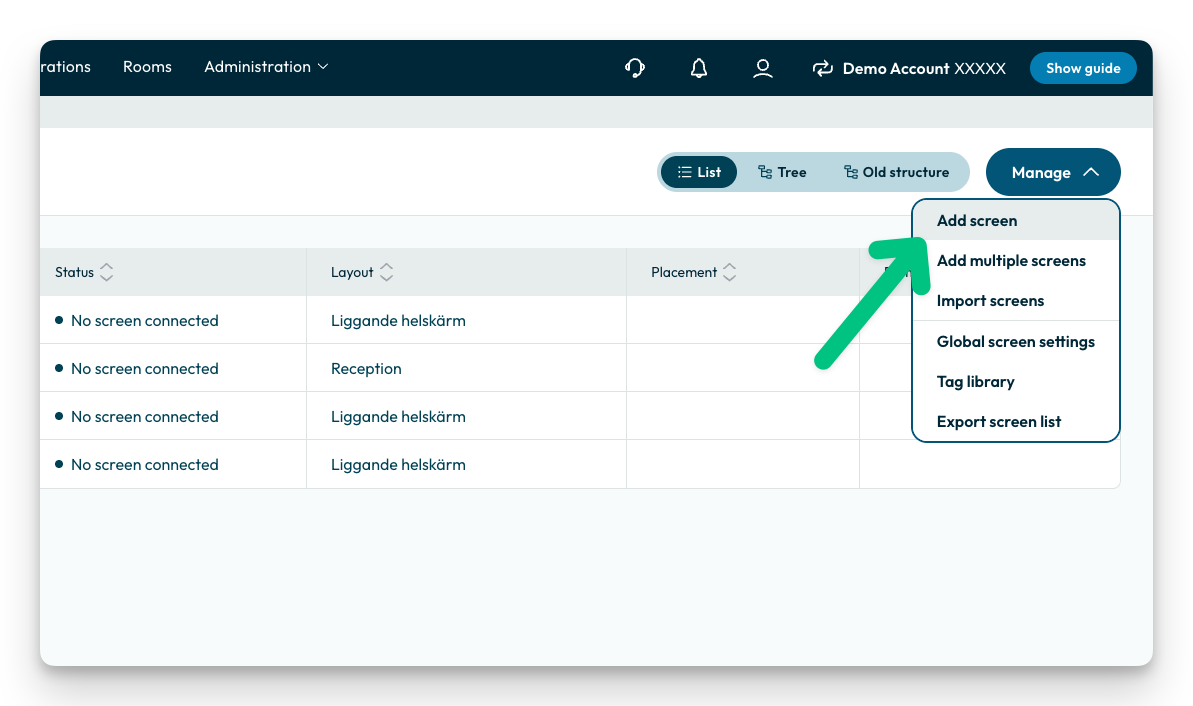
Fill in Screen Information
-
Enter Screen Name
In the dialog box "Add New Screen," fill in the name of your screen in the "Screen Name" field (e.g., "Cafeteria").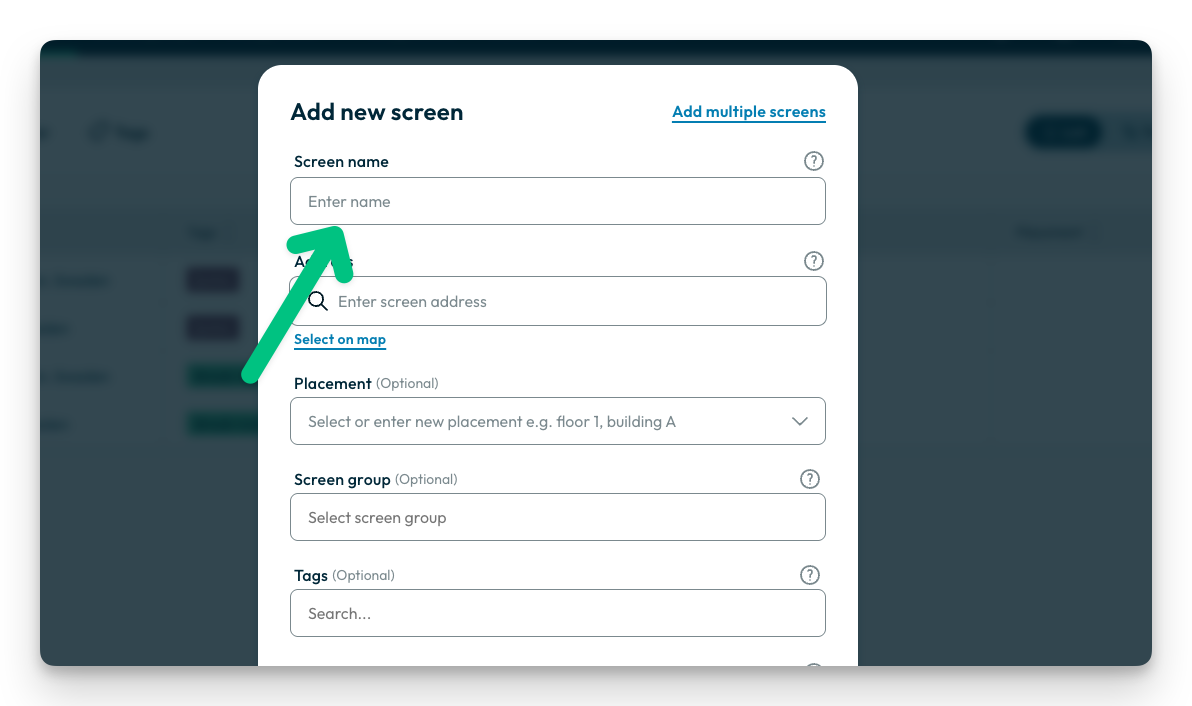
- Enter Address - Search
Click in the "Address" field and start typing an address to search.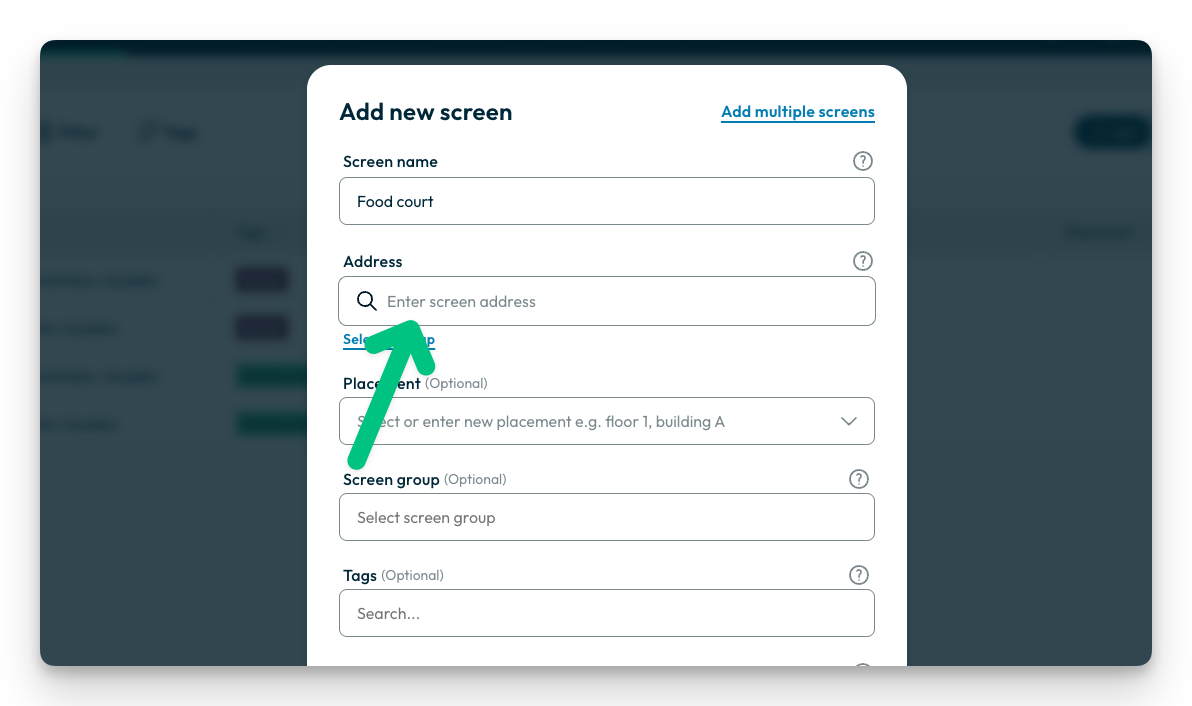
- Select Address from the List
The system will display a list of suggestions based on what you type. Start typing (e.g., "ny") and matching addresses will appear.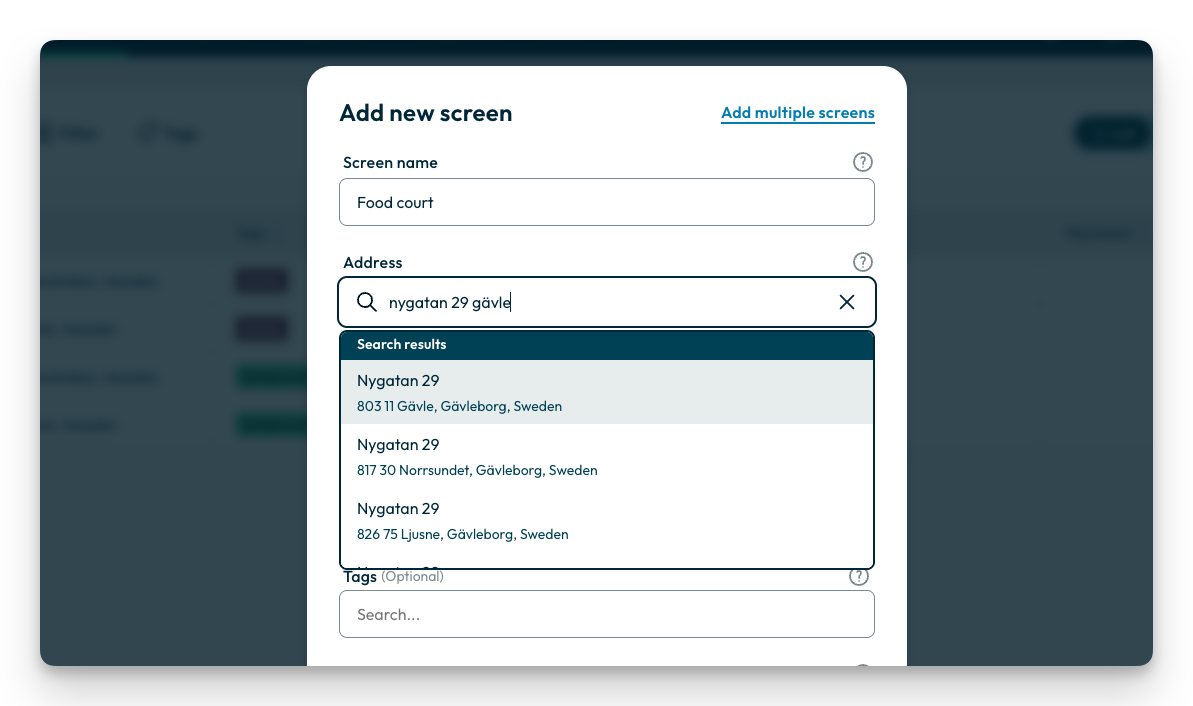
- Confirm Address
Select the correct address from the list (e.g., "Nygatan 29, Gävle, Gävleborg County, Sweden"). The address will now be automatically filled in the address field.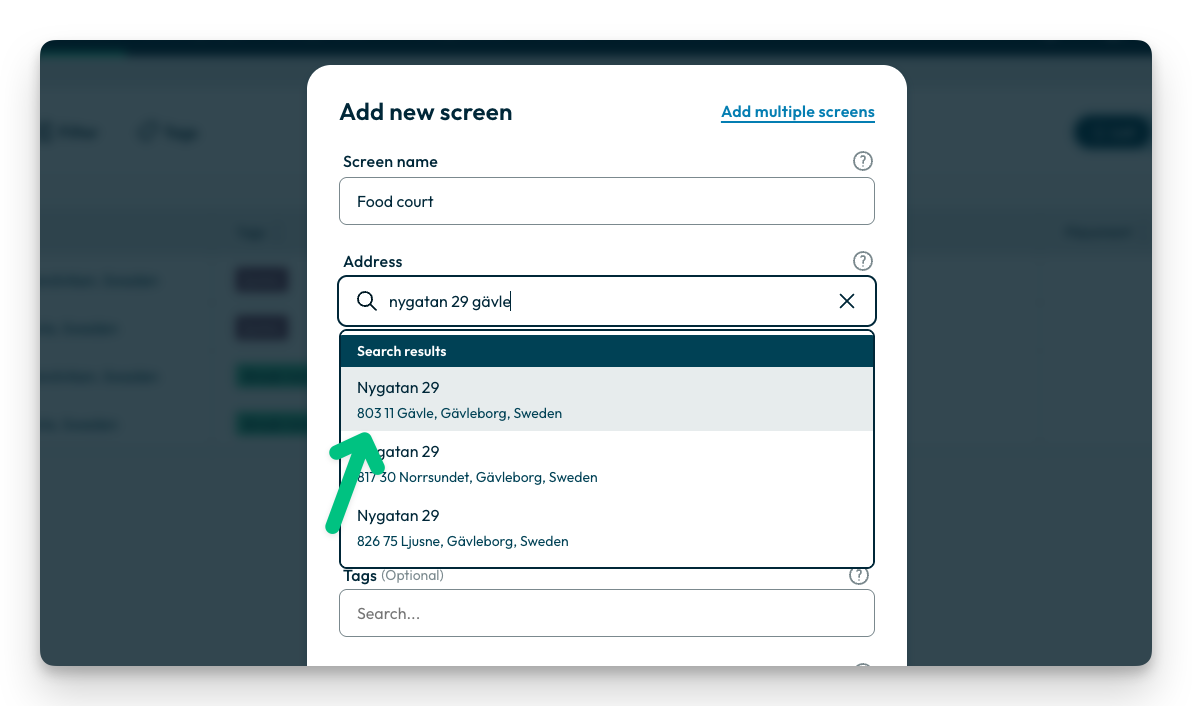
- Select Placement (Optional)
If you want to specify a more exact location, such as a floor or building, select or enter a new placement in the "Placement" field.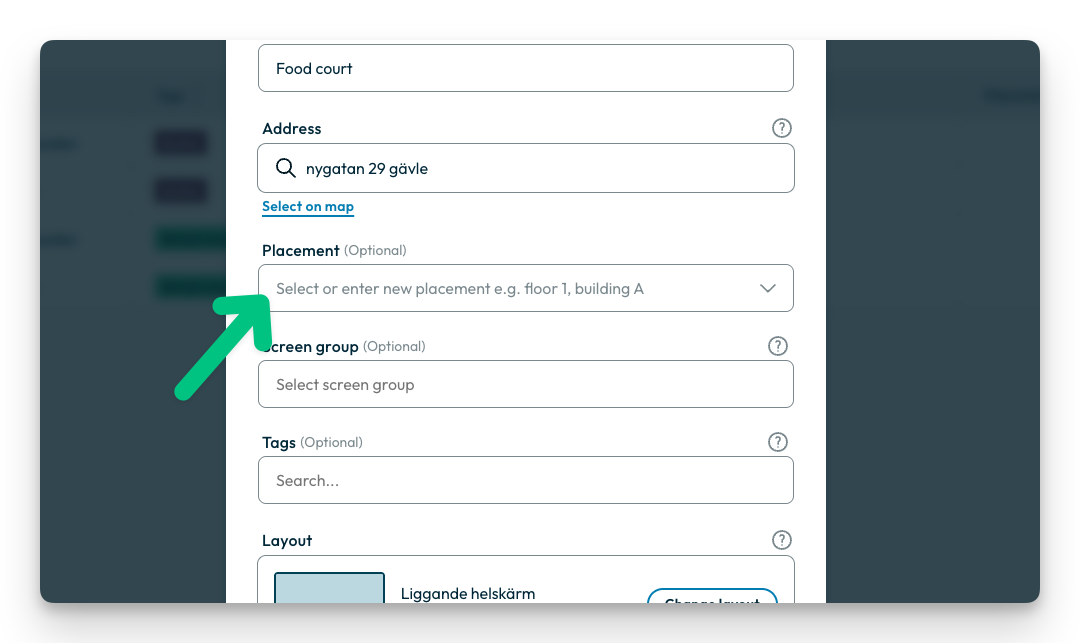
- Select Group (Optional)
Click on the dropdown menu "Group" and choose the group where the screen will be placed (e.g., "Gävle").
Note: You can only select a groups if you have already created groups. You can read more about groups here: Screen groups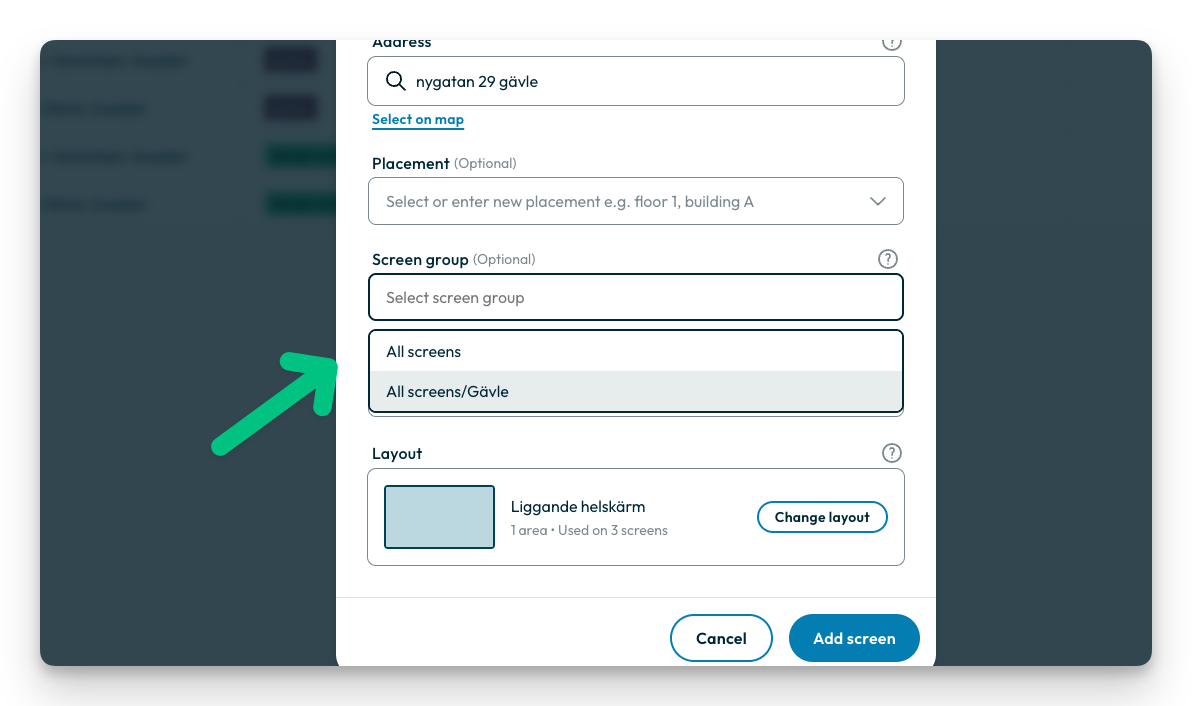
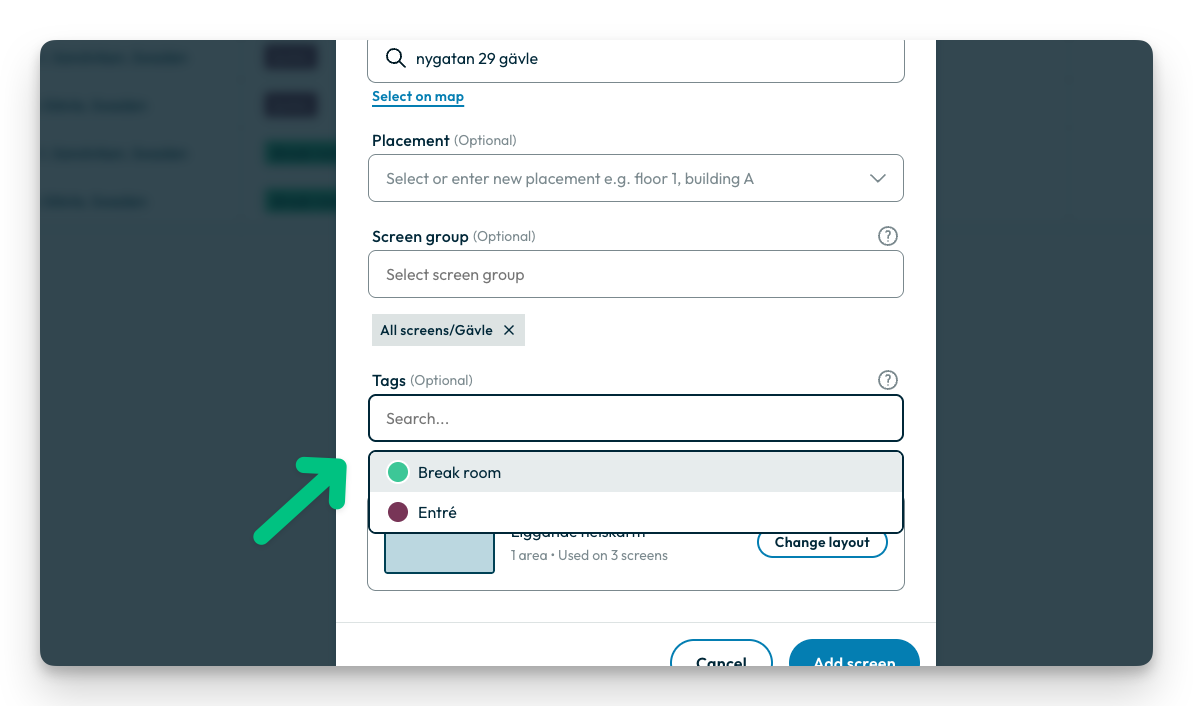
- Add Tags (Optional) Use the "Tags" field to search for and add tags that describe the screen, such as department, audience or room type.
- Change Layout (Optional)
If you want to change from the default layout "Landscape Fullscreen," click the "Change Layout" button.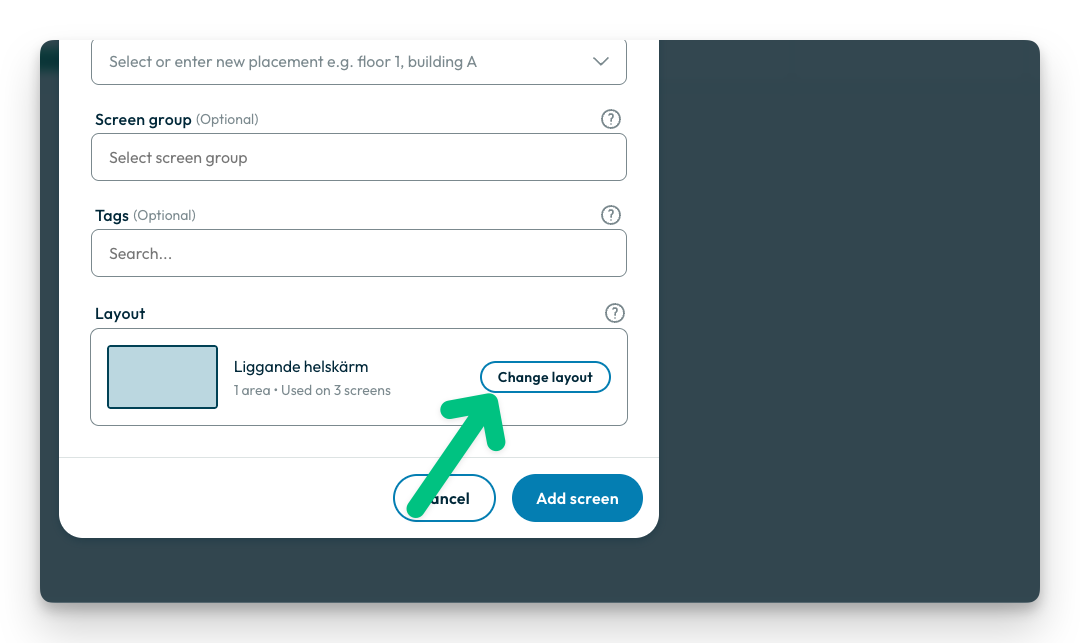
- Select Layout Type
In the layout menu, you can choose between "Landscape" and "Portrait." Under "Portrait," there are several options: - Select Layout
Click on the layout you want to use on the screen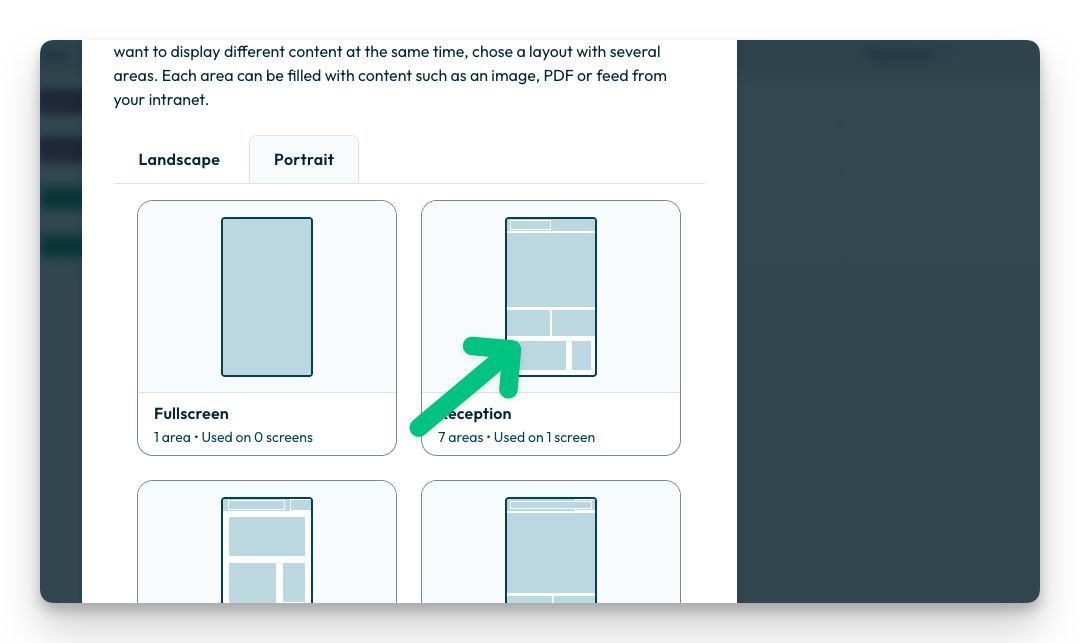
- Confirm Layout
Once you have selected the correct layout (Reception), it will be displayed in the summary. Now all information is filled out.
- Add Screen
When all information is filled out and the layout is selected, click the button "Add Screen" at the bottom right.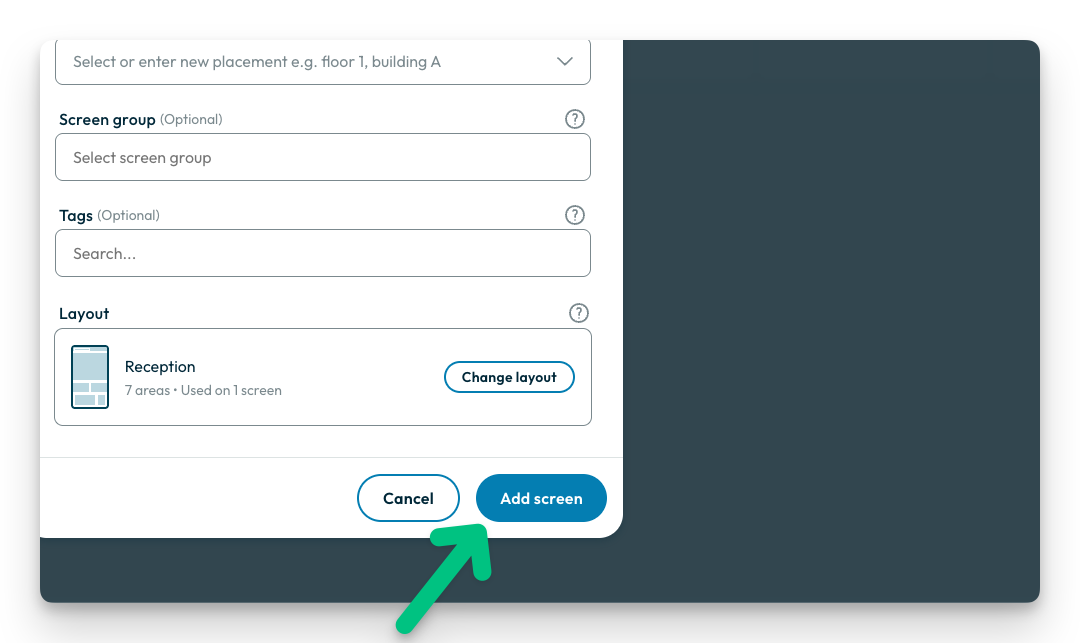
- Confirmation
You will now receive a confirmation dialog showing "The screen has been added" with a summary - Click "Go to Overview" to see your new screen in the list, or "Done" to close the dialog.
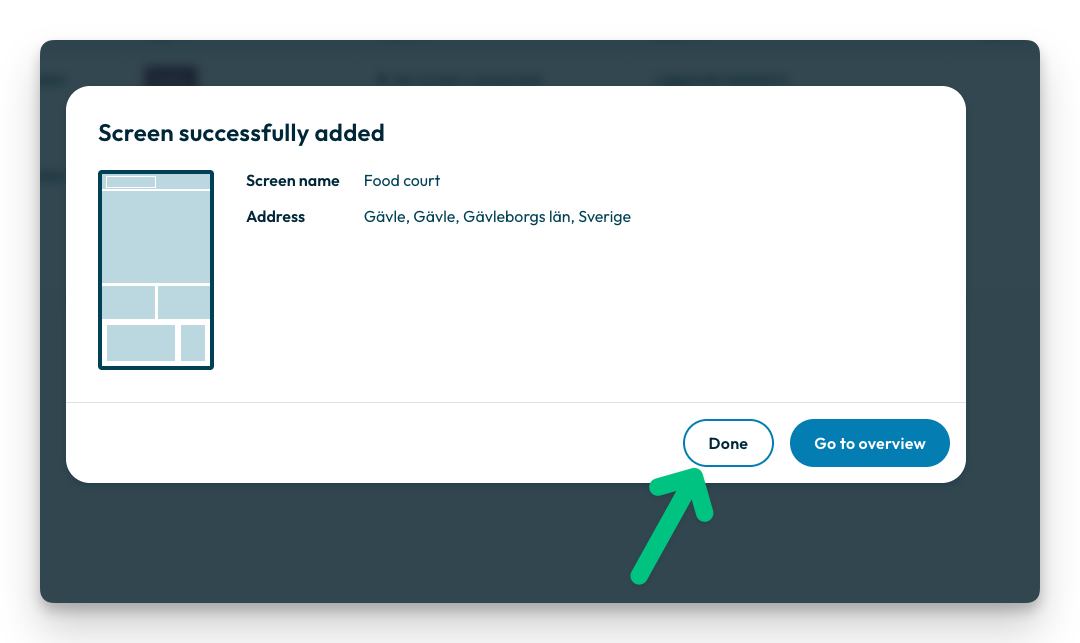
Done! Your new screen is now created and ready to use! You can now start publishing content to it by selecting it in the screen overview.
Next Steps
Now that the screen is created in the system, you can start publishing content to it. Please note that no physical screen is connected yet - the screen you have created is only a digital screen in the system.
To display the content on an actual screen, you need to:
- Connect a physical screen
- Connect the screen to a license
Read more in our guides: